Monday 7 December 2015

Xamarin 4 - build, test, monitor, accelerate with Xamarin

Wow.. Saturday early morning with freshly brewed coffee and Xamarin 4 webinar. Then the whole day spent with playing around with the new features.

I strongly agree, Xamarin is now fully loaded with end to end capability for an enterprise mobile software development lifecycle.


KEY FEATURES:

1) Xamarin.forms 2.0 is more faster reliable and more functional.

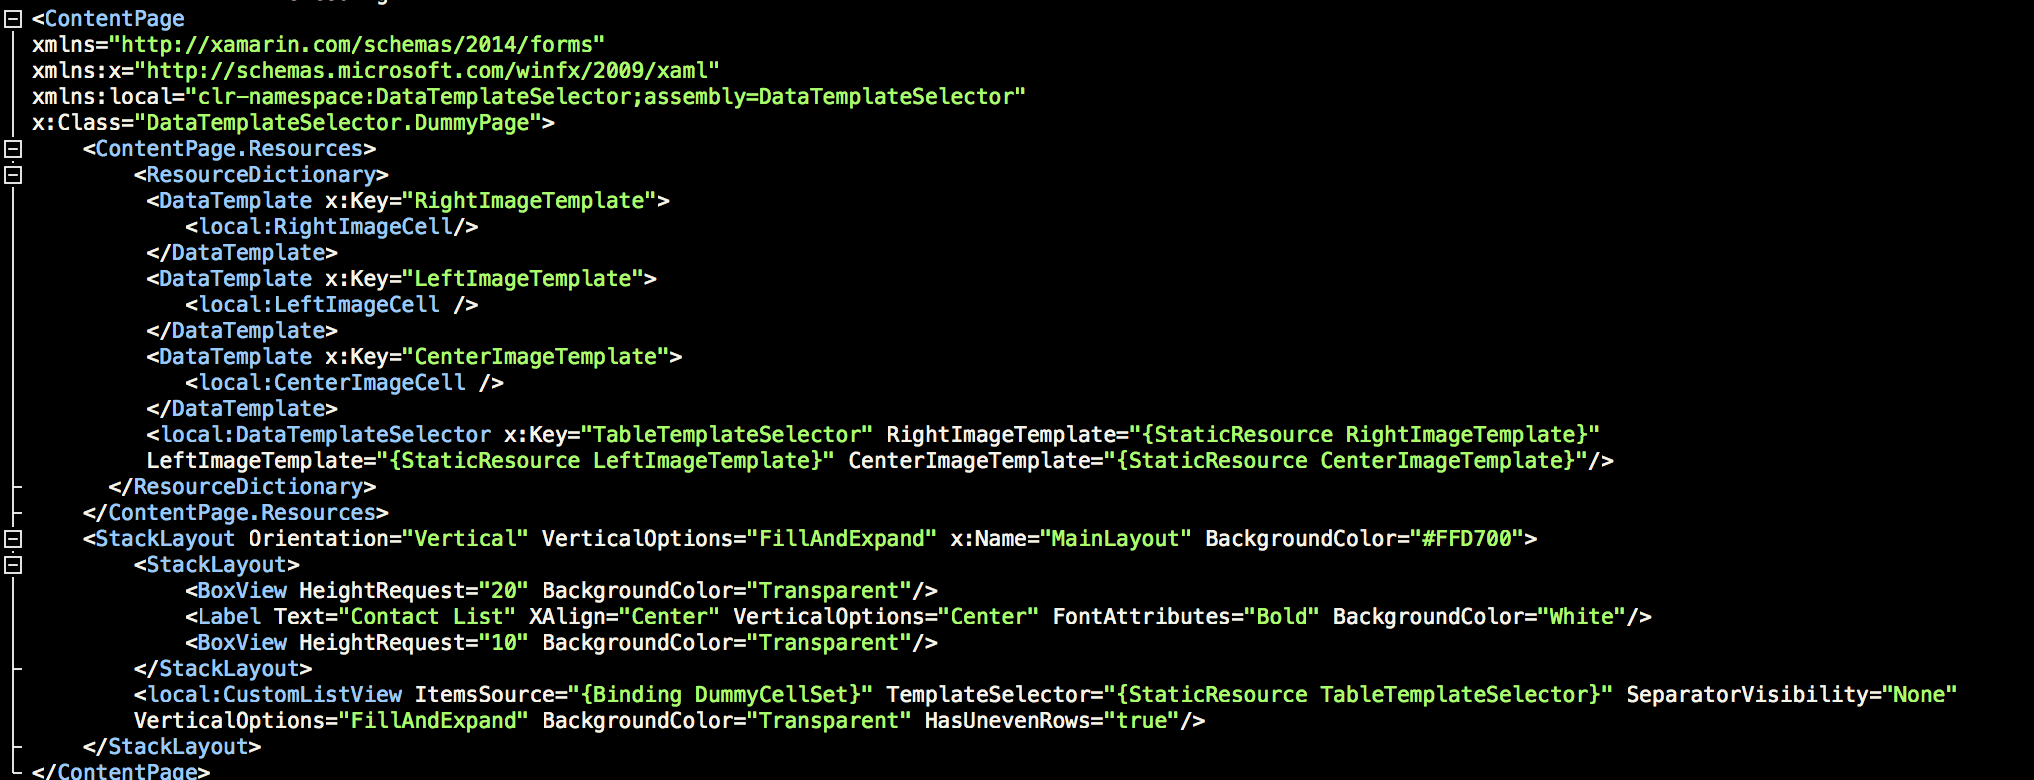
a) XAML can now be optionally compiled directly into intermediate language (IL) with XAMLC.
Xamarin XAMLC


2) With new Xamarin Inspector(under preview) make your UI perfect at runtime.

3) Now generate your test easily with Xamarin test recorder. Xamarin cloud is even cheaper and starts from $99 a month.

4) Xamarin Insight is now generally available with free crash reporting for all Xamarin Platform. New projects created in Xamarin Studio comes with the Insight Templates that utilise the SDK for mobile project. The IDE will automatically upload the dSYM files for you so that you get symbolicated stack trace with line number. You can add few line of code from here Xamarin Insights


I have two features in my mind which drew my attention. When I start talking about Xamarin.Forms 4 both of them crosses my mind parallel.

On one hand Xamarin Inspector makes the UI fine tuning lot easier and comes with Xamarin. You can start evaluating your app with REPL. Though it has a few limitations but its surely a great start.

On the other hand make the test and deployment cycle faster with Test Recorder.

XAMARIN INSPECTOR

This is indeed a great enhancement in the world of Xamarin. Inspector is interactive tool which diagnosis the UI in layers. This is indeed a great feature as it reduces lot of development time in rebuild to make the UI perfect. Thanks to Xamarin.

Follow the installation instruction mentioned here: Install Inspector


With inspector you can now explore the UI and even alter it while running it. Then go back to your code change the code and deploy. This reduces the number of rebuilds to make the UI perfect. It is super simple to use. Just get the latest version of Xamarin.


NB: To learn more go through Xamarin Inspector


XAMARIN TEST RECORDER

A great approach towards making the mobile development life cycle. According to my view this is another great approach to make the software development lifecycle lot faster. This is currently helping us in making the mobile app test and deployment lot faster and really making the iterations look lot better from testing perspective.

The best is you can generate the test script using one device and upload it to the test cloud to run on thousands of devices.

Thank you Xamarin again.

1) First you need to login to the Xamarin Test Cloud portal to get the Xamarin Test Cloud API key. Now the great news here is all Xamarin subscribers now have 60 free Test Cloud Minutes each month.

2) Specifically for Android project you need grant Internet permission in the Manifest.

3) Then do a release build of your app and start using Xamarin Test Recorder.


I have already started testing Xamarin Test Recorder to replace our the test suite of our enterprise mobile solutions.

Thanks,
Shri(Shribits)


Sunday 15 November 2015

Using Xamarin.Forms List caching and Lazy loading of infinite list

Today I will walk through a simple implementation lazy loading of a list view with xamarin.forms.

A walk through application will give a clear idea to the beginners. For more experienced people use  ItemAppearing property.

1) How to use MVVM with xamarin.forms.
2) How to use sqlite caching in your application.
3) Lazy loading with xamarin.forms list view.

You can browse through the code https://github.com/shribits/ListViewPagingAndCaching

Step 1:

1) Create a xamarin.forms project with PCL.
2) Add in xamarin.forms package from nuget.


Step 2:

1) As we are using mvvm in our application, we will segregate the model, view model and views. We will also have a service layer which will fetch the data from the backend(like a rest service).

Step 3:

Deep dive into the implementation:

Model , ViewModel and View:

ExampleModel contains the same data forma as the web service layer. This model type will be used to deserialise the response from the rest call.

public class Example
{
    public IList<Result> results { get; set; }
    public int count { get; set; }

}  

ExampleViewModel gets the data from the service layer:

public async Task UpdateViewModel()
{
   IsLoading = true;
   ResultItems =  await exampleService.GetItems ();
   Debug.WriteLine(ResultItems[0].channel);
   foreach (var item in ResultItems) {
        CollectionItems.Add (item);
   }
   IsLoading = false;
}


Example service layer gets the data from the web service as below and write to the sqlite database. If the there is a network outage then it will just read from the database only.

public async Task<List<Result>> GetItems()
{
    exampleItems = new List<Result> ();
    try{
        await GetActivityItems ();
        await cacheService.AddOrUpdateExampleItem (exampleItems);
     }catch
     {
              
     }
     return cacheService.GetExampleItem ();
}

private async Task GetActivityItems()
{
    try{
       var client = new RestClient ("http://www.whatsbeef.net");
       var request = new RestRequest ("/wabz/guide.php?start="+AppConfig.AppElementCounter);
       IRestResponse response = await client.Execute (request);
       RestSharp.Portable.Deserializers.JsonDeserializer deserial = new RestSharp.Portable.Deserializers.JsonDeserializer ();
       var deserializedResponse= deserial.Deserialize<Example> (response);
       Items= deserializedResponse.results ;
       foreach (var item in Items) {
            exampleItems.Add (item);
          }
       AppConfig.AppElementCounter+=10;
       }
       catch(Exception ex){
          #if DEBUG
          Debug.WriteLine (ex);
          #endif
       }
}


For caching:
Two dependency service has been written, first one is to get the device specific path and the second one is for platform specific sqlite connection.


public static SQLiteConnection CreateDB()
{
   var localDB =  DependencyService.Get<IDocumentPathService>    ().CreateDocumentPath("Shri.db3");
   return new SQLiteConnection (DependencyService.Get<IDataStore>().SqlitePlatform,localDB),true);
}


Finally we need to finish the implementation of on demand loading:


list.ItemAppearing += (sender, e) =>
{
    MessagingCenter.Send<ExamplePage,Result>(this,"LoadItems",e.Item as Result);
};


So xamarin.forms listview has a property called ItemAppearing. This call results in returning the item appearing on the screen. You can match if the last item has already appeared on the screen then load more items.

In my next article I am going to share a few animation implementations.

Thanks
Shri


Sunday 11 October 2015

Using Xamarin.forms store value in Keystore (android) and Keychain (iOS)

This time I am going to share how I have used Platform Service  to store UserName and Password with Xamarin.forms. It will be quite a simple implementation as we will using Xamarin.Auth package.

First create a new Xamarin.forms application using pcl. I always prefer using pcl in my projects :).

In you pcl create a new interface as shown below:


public interface ILoginStoreService

    {

        void SaveLogin (string userName, string password);
        string GetUserName ();
        string GetPassword ();
        bool LoginExists ();

  }  


Then in your iOS project add Xamarin.Auth package. After that inside the same iOS project create a new Class inheriting the interface defined in the pcl project.

[assembly: Dependency(typeof(LoginStoreIOS))]
namespace HealthGateway.iOS
{   
        public class LoginStoreIOS        
            :ILoginStoreService    
       {        
                public void SaveLogin (string userName, string password)        
               {            
                        if (!string.IsNullOrEmpty (userName) && !string.IsNullOrEmpty (password)) 
                        {               
                                  Account user = new Account { Username = userName };                
                                  user.Properties.Add ("Key", password);                
                                 AccountStore.Create ().Save (user, "Shribits");            
                        }        
              }      
             public string GetPassword ()       
            {            
                       var account = AccountStore.Create ().FindAccountsForService ("Shribits").Last();           
                       return account.Properties["Key"];        
            }
            public bool LoginExists ()        
          {            
                    if(AccountStore.Create ().FindAccountsForService ("Shribits").Count() > 0)               
                             return true;            
                    else                
                             return false;        
           }       
           public string GetUserName ()        
           {            
                   var account = AccountStore.Create ().FindAccountsForService ("Shribits").Last();            
                  return account.Username;        
           }    
    }
}  

Similarly for android follow the same steps create a new Class inheriting the interface defined in your pcl and also add the Xamarin.Auth package to your solution.

The example of implementation is below:


[assembly: Dependency(typeof(LoginStoreDroid))]

namespace HealthGateway.Droid

{
    public class LoginStoreDroid
        :ILoginStoreService
    {
        public void SaveLogin (string userName, string password)
        {
            if (!string.IsNullOrEmpty (userName) && !string.IsNullOrEmpty (password)) {
                Account user = new Account { Username = userName };
                user.Properties.Add ("Key", password);
                AccountStore.Create (MainActivity.Instance.BaseContext).Save (user, "Shribits");
            }
        }
        public string GetPassword ()
        {
            var account = AccountStore.Create (MainActivity.Instance.BaseContext).FindAccountsForService ("Gateway").Last();
            return account.Properties["Key"];
        }
        public bool LoginExists ()
        {
            if(AccountStore.Create (MainActivity.Instance.BaseContext).FindAccountsForService ("Shribits").Count()>0)
                return true;
            else
                return false;
        }
        public string GetUserName ()
        {
            var account = AccountStore.Create (MainActivity.Instance.BaseContext).FindAccountsForService ("Gateway").Last();
            return account.Username;
        }
    }
}


Now you are good to go ahead with your implementation cross platform level. Below is the example of how to make the call :

DependencyService.Get<ILoginStoreService> ().LoginExists ()  

For more information on how to implement Dependency Service please https://developer.xamarin.com/guides/cross-platform/xamarin-forms/dependency-service/

Add in your comments and questions. Also let me know if you would like to cover any topic.

Saturday 19 September 2015

How to create custom viewcell in ListView - Xamarin.forms


Here I will be showing a few tricks I have used to make dynamic viewcell in Listview and a easy way to make your ux designer happy ;).
I will do a small walk through the code and explain the logic behind it. This project is also available in Github. I have shared the link below.
Primarily I have extended xamarin.forms ListView binding capability and created a CustomListView class to have a new property called TemplateSelector of type IDataTemplateSelector.

Screen Shot 2015-09-20 at 3.24.50 pm

Screen Shot 2015-09-20 at 3.19.41 pm

DataTemplateSelector class has all the different DataTemplateTypes Defined in it. Highlighted function SelectTemplate takes each viewcell viewmodel type and converts them to Template.  

Screen Shot 2015-09-20 at 3.20.50 pm


I have a DummyModel with properties Name, ContactNo , ProfileImage and TemplateType. In my DummyViewModel I have added a few DummyModel objects to List<DummyModel> DummyModelSet.

To bind the ItemSource of the ListView we have created a BaseCellViewModel and added the properties  Name, ContactNo and ProfileImage only. For binding we don't need the TemplateType anymore. Inheriting BaseCellViewModel we have three other view model for three different template (RightImageCellViewModel, LeftImageCellViewModel, CenterImageCellViewModel). 

Screen Shot 2015-09-20 at 3.09.52 pm


Finally we have reached the view part. In our DummyPage will define the our CustomListView as below with the TemplateSelector property:

Screen Shot 2015-09-20 at 3.35.42 pm


https://github.com

Happy Coding!!!

Shri

Wednesday 29 October 2014

IOS 8 : Restricting orientation on a View Controller

In my recent xamarin project (iOS 8 app) one of the requirement was to restrict the orientation at ViewController level. There had been lot of changes from the apple side related to screen orientation.
  • In iOS 4, it was possible to force app rotation when changing view controllers in a tab bar controller and a navigation controller, as well as when presenting/dismissing a controller.
  • Then in iOS 6 it became impossible to force app rotation except when presenting/dismissing a view controller.
  • Now, in iOS 8, it is impossible to force app rotation at all (except at launch). It can prefer a certain orientation, so that once it is in that orientation it will stay there, but it cannot force the app to go into that orientation.
    Instead, your view controller is expected to "adapt". There are several WWDC 2014 videos concentrating on "adaptation", and now I'm starting to understand that this is one reason why this is so important.
Workaround to restrict the orietation
Xamarin:

Step 1:
In info.plist unselect all the orientation as shown in the image below:


Step 2:
In AppDelegate.cs:

Define a boolean type variable to assign the value of each ViewController Orientation type.

public partial class AppDelegate : ApplicationDelegate
{
public bool RestrictRotation {
            get;
            set ;
     }
}
        }
  
also add the function bellow to get the supported orientation type at run time.

Export ("application:supportedInterfaceOrientationsForWindow:")]
public UIInterfaceOrientationMask GetSupportedInterfaceOrientations(UIApplication application, IntPtr forWindow)
{
     if (this.RestrictRotation)
         return UIInterfaceOrientationMask.Portrait;
     else
         return UIInterfaceOrientationMask.All;
}
  

Step 3:

In ViewController add the following code:

a) For Portrait view:

i) Inside ViewDidLoad:
The following code will return true to the AppDelegate -> GetSupportedInterfaceOrientations. This will enable to get the UIInterfaceOrienntationMask to Portrait.

public override void ViewDidLoad ()
{
    base.ViewDidLoad ();
    this.RestrictRotation(true);
  

ii) Add the functions below to the View Controller.

public override bool ShouldAutorotate()
{
     return false;
}

public override UIInterfaceOrientationMask GetSupportedInterfaceOrientations ()
{
     return UIInterfaceOrientationMask.Portrait;
}

public override UIInterfaceOrientation PreferredInterfaceOrientationForPresentation ()
{
      return UIInterfaceOrientation.Portrait;
}

void RestrictRotation(bool restriction)
{
AppDelegate app =(AppDelegate)UIApplication.SharedApplication.Delegate;
            app.RestrictRotation = restriction;
}
  

b) For Landscape and Portrait view:
i) Inside ViewDidLoad:
The following code will return true to the AppDelegate -> GetSupportedInterfaceOrientations. This will enable to get the UIInterfaceOrienntationMask to Portrait and Landscape.

public override void ViewDidLoad ()
{
    base.ViewDidLoad ();
    this.RestrictRotation(false);
  

ii) Add the functions below to the View Controller.

public override bool ShouldAutorotate()
{
     return false;
}

public override UIInterfaceOrientationMask GetSupportedInterfaceOrientations ()
{
     return UIInterfaceOrientationMask.Portrait;
}

public override UIInterfaceOrientation PreferredInterfaceOrientationForPresentation ()
{
      return UIInterfaceOrientation.Portrait;
}

void RestrictRotation(bool restriction)
{
AppDelegate app =(AppDelegate)UIApplication.SharedApplication.Delegate;
            app.RestrictRotation = restriction;
}
  

Image:

View 1:

Portrait Only:


View 2:

Portrait and Landscape:


Please pick up the code example from github...

Enjoy coding!!!